Vintage Desk Makeover
Have you ever seen the movie The Money Pit? It’s a 1986 comedy film where characters played by Tom Hanks and Shelley Long buy a house in need of renovations. The house has one issue after another and falls apart around them. While I’m not sure I ever saw the entire movie, certain parts have clearly stuck out in my memory over the years. Truly, it doesn’t sound “comedic” if you’ve ever been in the throws of renovations, but sometimes you have to step back and laugh a little at a situation that seems it could only be played out on the big screen.
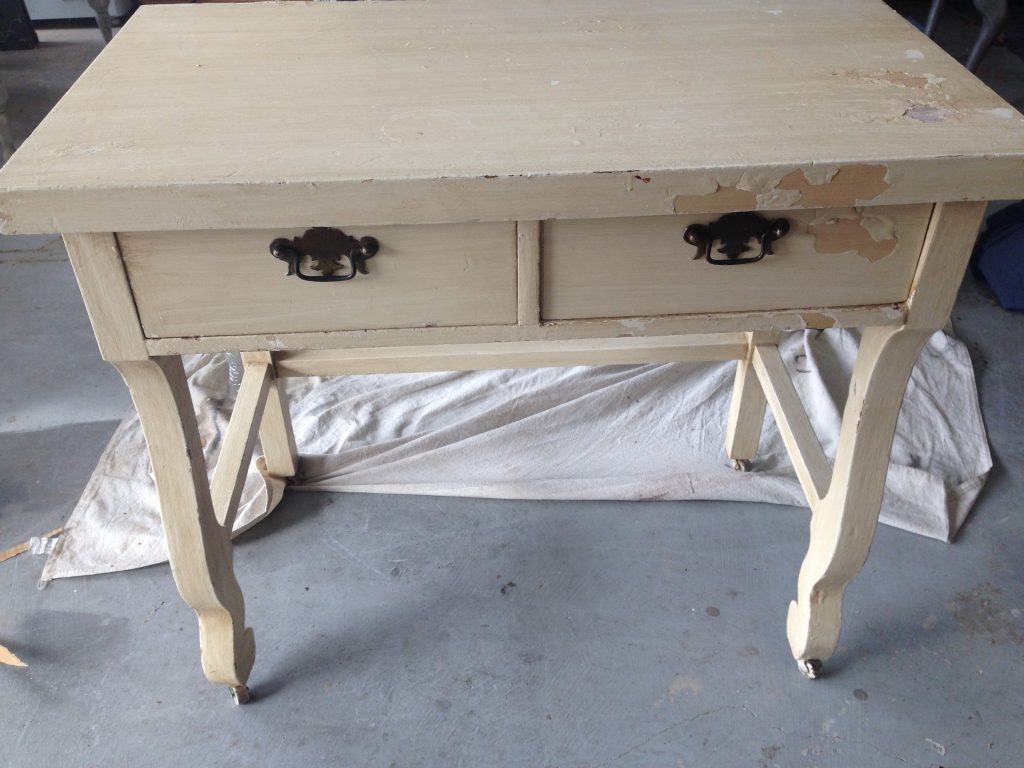
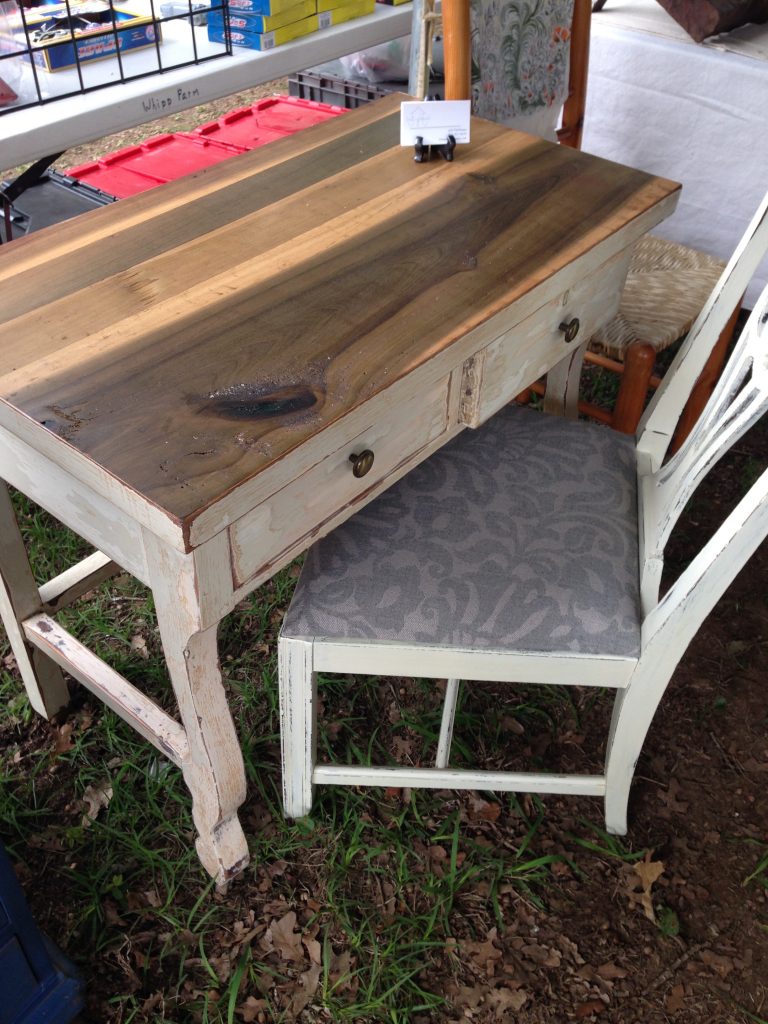
It was at an estate sale that I saw this little scroll footed desk. I saw its size and price and thought I could flip it pretty quick and easy. WRONG! It had been painted many times over and over. There was a tiny spot on top where the paint had chipped all the way down to the wood. (Later I would realize it was veneer.) Never fear, Miss Optimist is here! Haha!!!
I had done this little washstand recently where I sanded down through several layers of paint and had smooth feathering all the way to the wood. Once I was happy with the look, I sealed it and it was darling! So, I had my sight set on doing this little desk the same way.

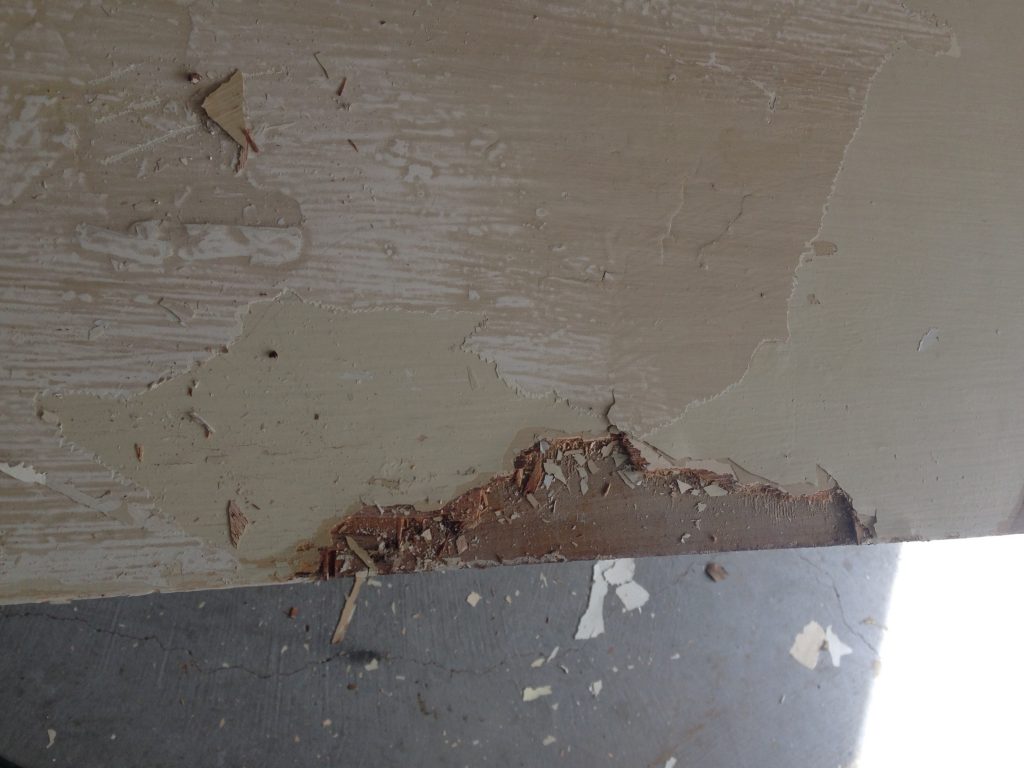
I use an air compressor several times on a piece to get all the dust from all the nooks and crannies. I also use it after I have sanded it down for the same purpose. When I used the air compressor on this piece after I sanded it, large pieces of paint were peeling off. Layers and layers. At one time, the best I could count there were 9 different paint layers. This was a problem. EVERY time I would sand to a smooth feathering and blow it off more layers and layers would peel away. This was just the beginning of my time pit.
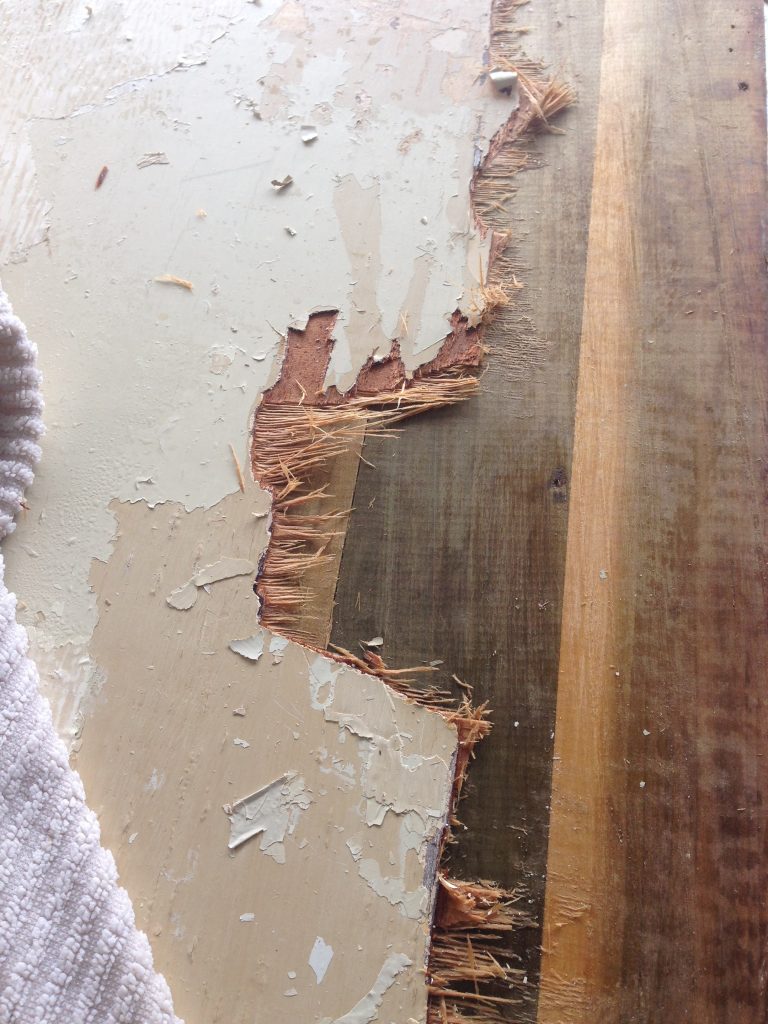
Upon looking closer at the tiny spot chipped on the flat surface of the desk I noticed it was veneer. VENEER! As you can read here I have a DON’T DO IT list (that I almost never adhere to). Why? Why, did I decide removing that veneer would be easy? Just because it has been easy on a couple of projects does not mean it will be on this one! However, if you are interested in a time pit yourself or the overall veneer facial steam you receive, here are the steps I use to remove veneer.
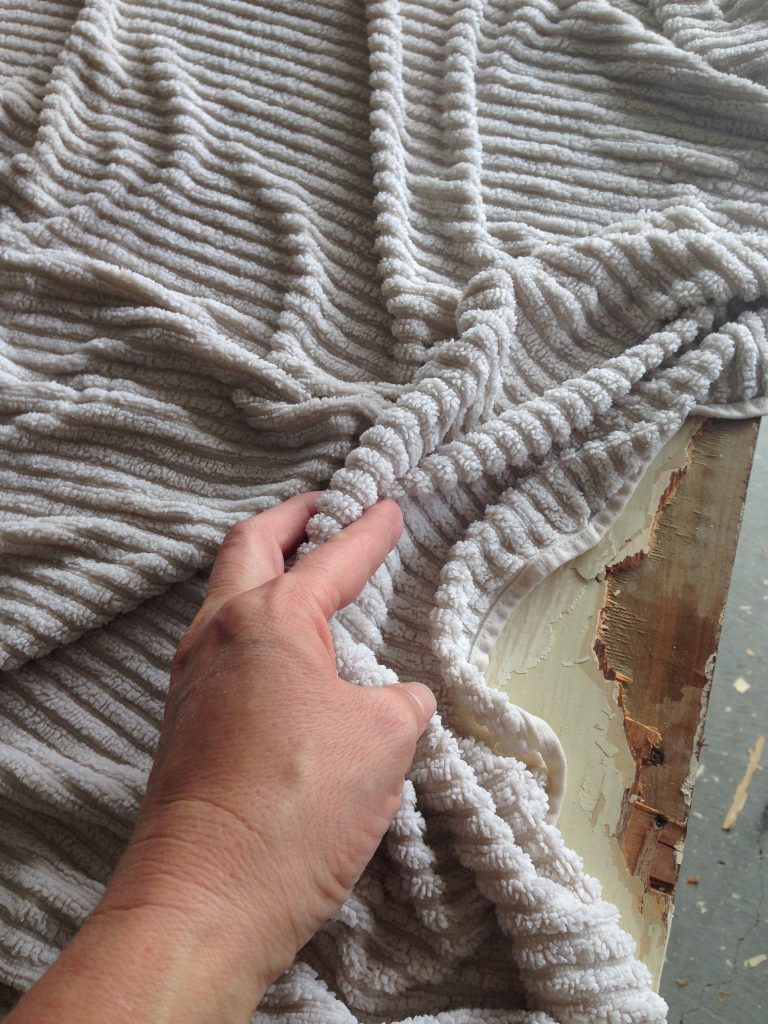
Place a very wet towel on the veneer to be removed – let it soak the veneer for 45 minutes to an hour.
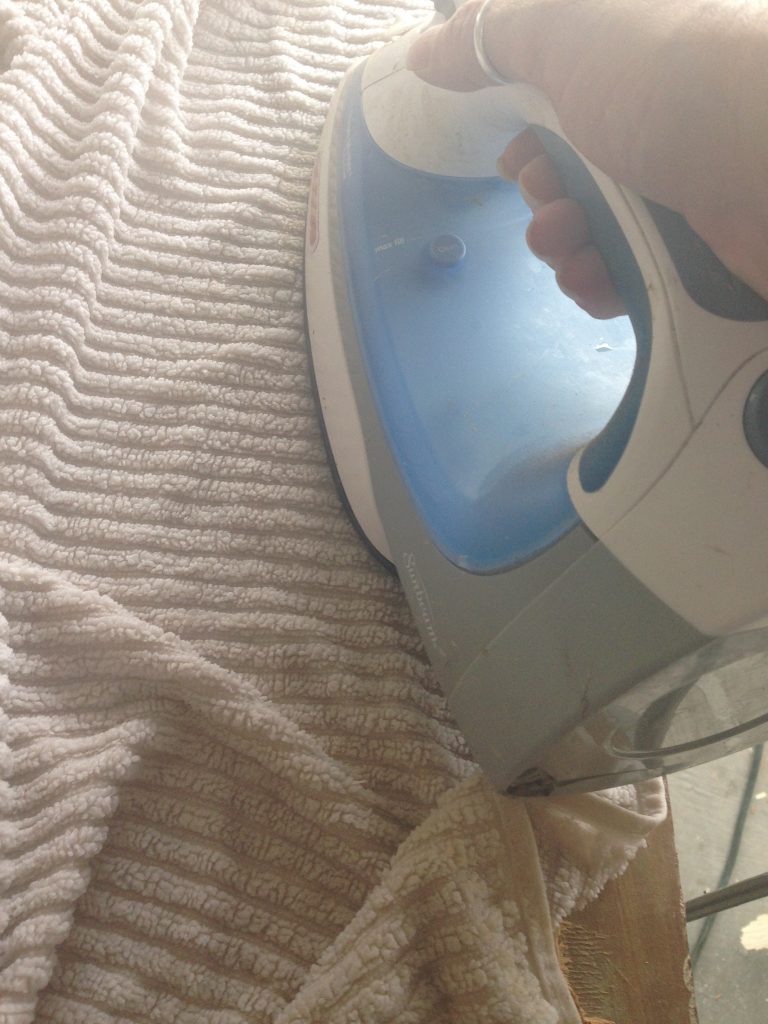
Put another towel down (do not use nice towels for this) and place an iron (I have an iron only used for removing veneer) with the steam setting on – and let it sit on the area for 30-45 seconds.
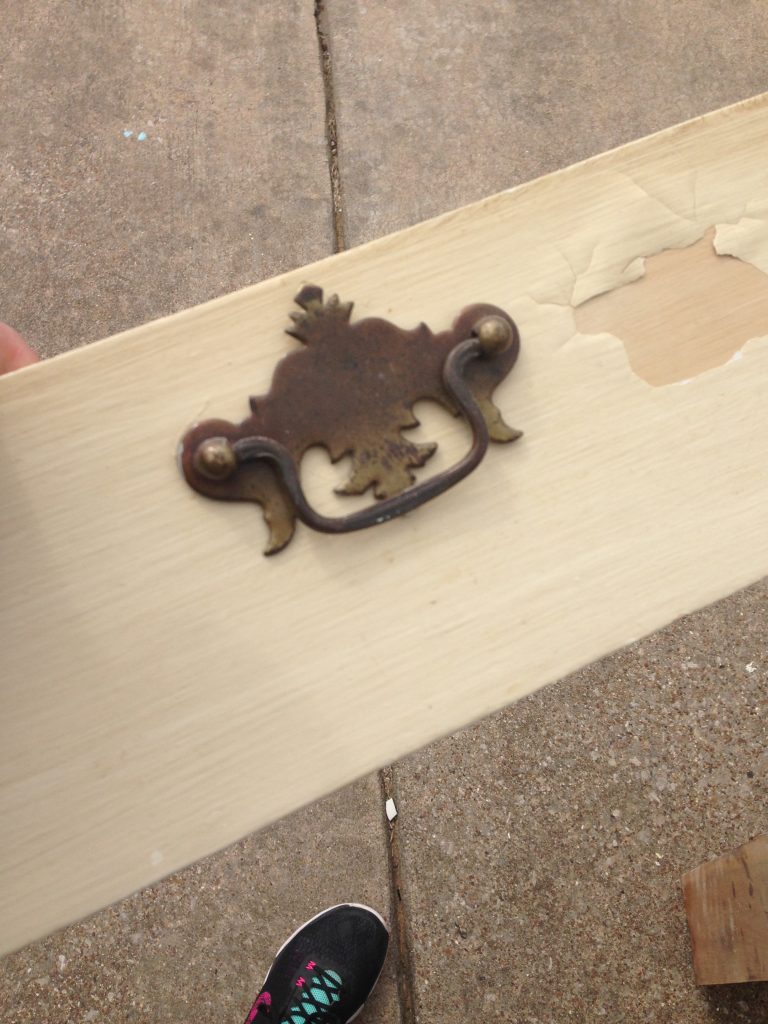
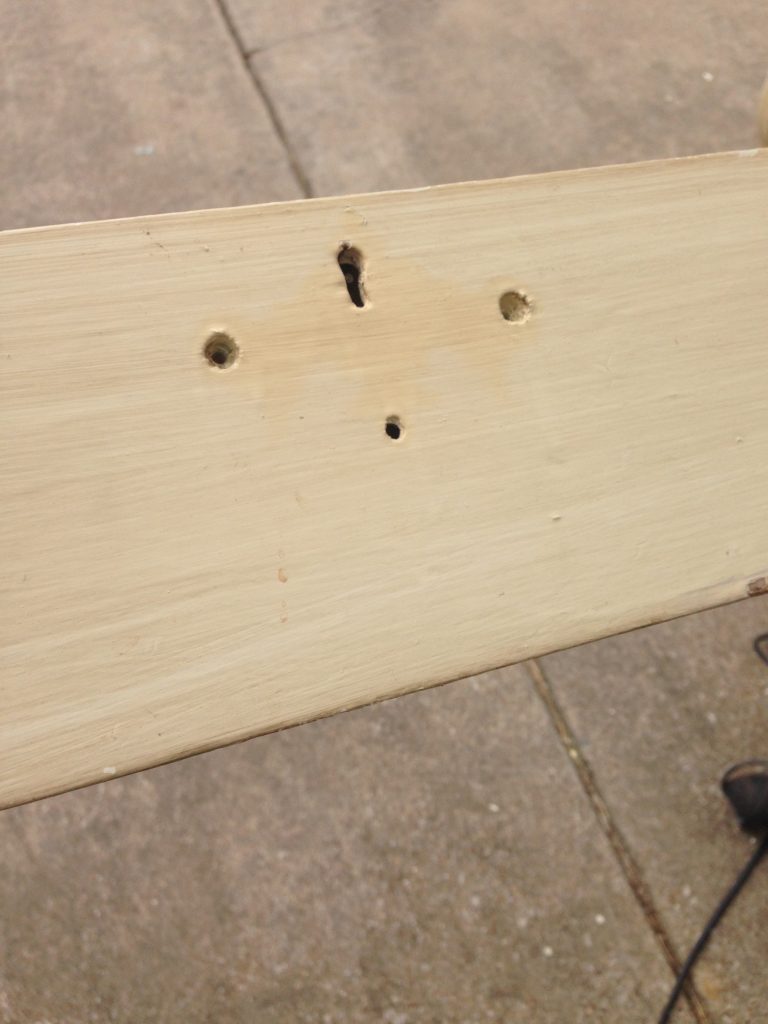
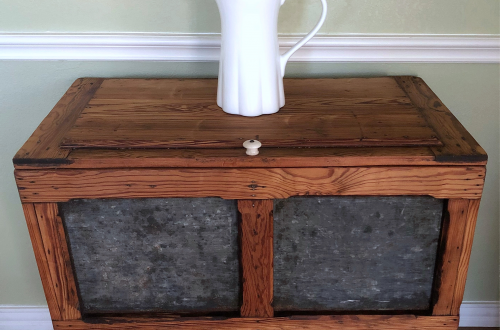
I replaced these drawer pulls (which covered up the key hole) with a more correct knob for the piece.
Use a plastic putty knife like the ones here to lift veneer off.
REPEAT until all veneer is removed. Sand and finish to your liking.
I spent $25 on this little desk. I sold it for $125. I went in the hole on this piece. The time I invested in sanding, stripping veneer, staining, and sealing it felt as though it would never end.
After it was all said and done, it was cute, but I was so ready to get it sold. Moral of this story… Take a careful eye to the pieces that at first appearance seem as though they won’t take much work. And, don’t let fancy feet get you all glossy eyed over “what could be.”
From my heart to your home,
Jolé


You May Also Like